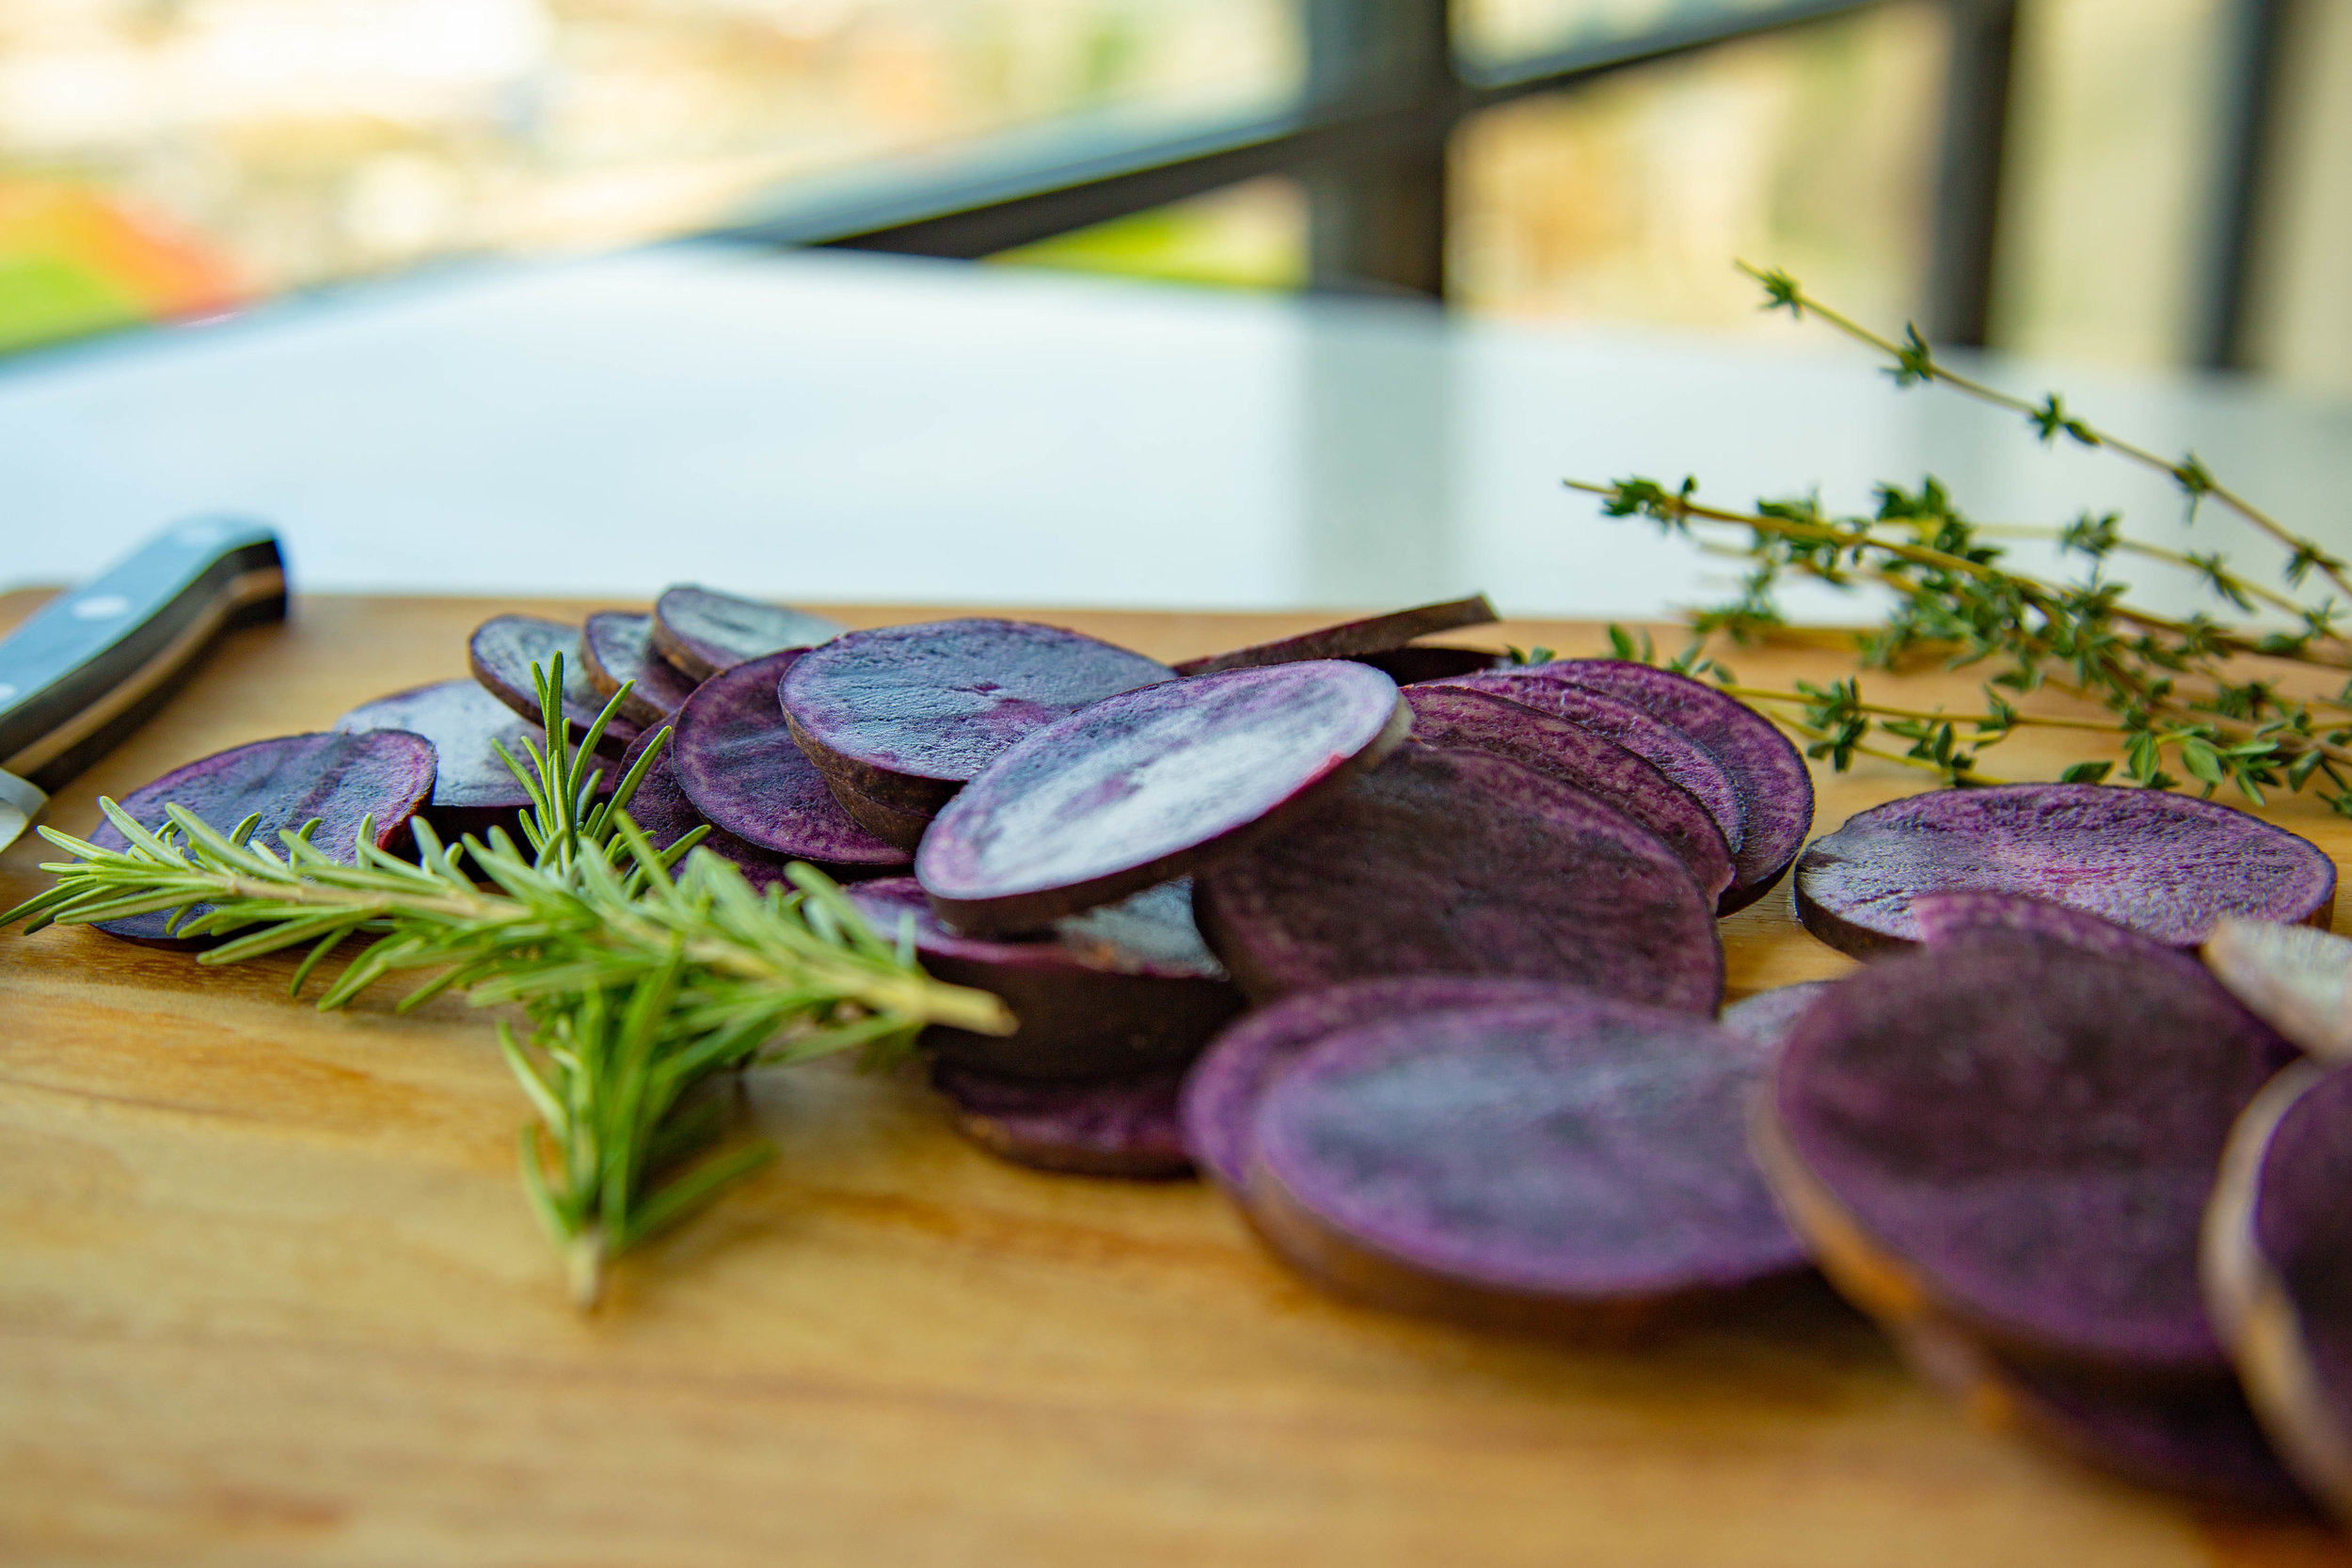
twice fry, fermented fries
/You are going to be obsessed. Carley Smith, the Fairy Gutmother, joins us back in the kitchen with her new recipe: fermented fries! They are truly the most crispy, homemade fries ever. With all the gut-loving benefits you'd expect from the gut expert herself. Simple yet absolutely delicious. Carley breaks down the gut health benefits and how to make these twice fry, fermented fries at home in our new cooking demo ~
Carley loves talking about how potatoes are great for the gut because they feed the good bugs in the gut. Aka prebiotic-full. Potatoes are so nutrient-dense, but for the prebiotic or resistant starch content, it’s all about how you cook your taters. Carley also loves fermented foods because they help populate the gut with more beneficial bacteria. Aka probiotics. She took it a step further and combined the two: probiotics + prebiotics. Both more beneficial bacteria in the gut AND food for the gut. Truly a match made in heaven.
While the cooking piece of this recipe removes most of the ferment benefits ~ it does allow the body to digest and absorb the potato starch much easier. These fries also taste AMAZING because the fermenting process allows the salt sprinkled in the bowl to make these bad boy fries taste like they’re salted from the inside out. Giving the fries a slight tangy flavor that is SO TASTY. You’ll never want to eat fries any other way. We promise.
Quick summary of the recipe ~
We’re going to be slicing up russet potatoes into matchstick fries, submerging in water and salt to ferment for a day or two, strain, and then fry them twice in oil for absolutely crispy deliciousness. Enjoy!
INGREDIENTS - Fermented Fries
3 lbs russet potatoes, peeled and cut into matchstick fries
4 tbs Kosher or sea salt
8 cups filtered water (or enough to fill about 1-2 inches from top of bowl)
3 cabbage leaves
high smoke point oil (we like to use Colorado Mills Sunflower Oil or Primal’s Avocado Oil)
optional: very helpful to have a large skimmer spoon for this recipe
INGREDIENTS - Avo Lime Fennel Dip
*Recipe created for Strohauer Farms by Chef Ron Pickarski of Eco-Cuisine in Boulder, Colorado
Yields 1/2 cup
1/4 cup mayo (we love Primal Kitchen’s Avocado Oil Mayo)
1/4 cup fresh avocado
2 tbs fresh lime juice
3/4 tsp fennel powder (seeds will blend perfectly as well)
1/4 cup fresh parsley
1/8 tsp sea salt
1/8 tsp garlic powder
DIRECTIONS - Avo Lime Fennel Dip
Blend all ingredients until smooth. Refrigerate until ready to serve alongside fries.
DIRECTIONS - Fermented Fries
Wash potatoes, peel & slice into matchstick fries
Add fries to large bowl and cover with filtered water about 1-2 inches from top of bowl
Add salt to bowl and stir until combined
Loosely cover fries with cabbage leaves so they maintain submerged in the water
Cover bowl loosely with cloth and store in a cool, dry and temperature-controlled environment for 1-4 days (1 day is plenty here too)
Remove fries, strain, and pat dry with a paper towel
Heat oil in large dutch oven or high heat-stable pot over the stove. Slowly and carefully add fries, one handful at a time. Fry in small batches, stirring occasionally to prevent sticking from pan or sticking together, ensuring an even fry throughout
Fry each batch until golden brown, remove from heat and allow to cool on paper towels
If you like a more crispy fry, fry them again in small batch handfuls for a quick fry or about 5-10
seconds (this tip is necessary in my opinion!)
Serve garnished with finishing salt and avo lime fennel dip. Enjoy ~
Fermenting quick tip!
On the fermenting process, you want to leave the bowl out, so that the potatoes do ferment. The fridge stops the process. So find a temperature-controlled, cool-ish (72°F) and dark area like a basement or closet to store for a day or two here. Cover the bowl but loosely. A plastic Tupperware bowl can work great here. Cover with 3 cabbage leaves so that the potatoes remain submerged (and also retain their white flesh color!), and then gently set the lid on top to the side, so there is a little space for them to breathe (don’t close too tightly). You want some air getting in but not overly exposed :)